Pair Programming
Pair programming allows students to work together on programming activities, side-by-side on the same computer. Students can choose teammates from a list of other students in their classroom section when they are ready to pair, and then teachers can track both team progress and individual student progress.
-
What is pair programming?
Pair programming is a software development technique in which two or more programmers work together at one workstation. One, the driver, writes code while the others, the navigators (or observers so-called) review each line of code as it is typed in.
While reviewing, the navigators also consider the "strategic" direction of the work, coming up with ideas for improvements and likely future problems to address. This is intended to free the driver to focus all of the attention on the "tactical" aspects of completing the current task, using the observer as a safety net and guide.
-
How do I turn pair programming on or off for my students?
By default, all classroom sections (regardless of their assigned course) support pair programming, either type of Picture Password, Secret Word, or Personal Email. However, you can turn this off when you set up the section or visit the Edit Section Details dialog later.
-
Open your classroom section list on the Teacher Dashboard Page.
-
Click the down arrow icon to the far right of the section you want to turn on pair programming for.
-
Choose "Edit Section Details".
-
On the next "Edit Section Details" screen, you'll see a Yes/No option for "Enable Pair Programming".
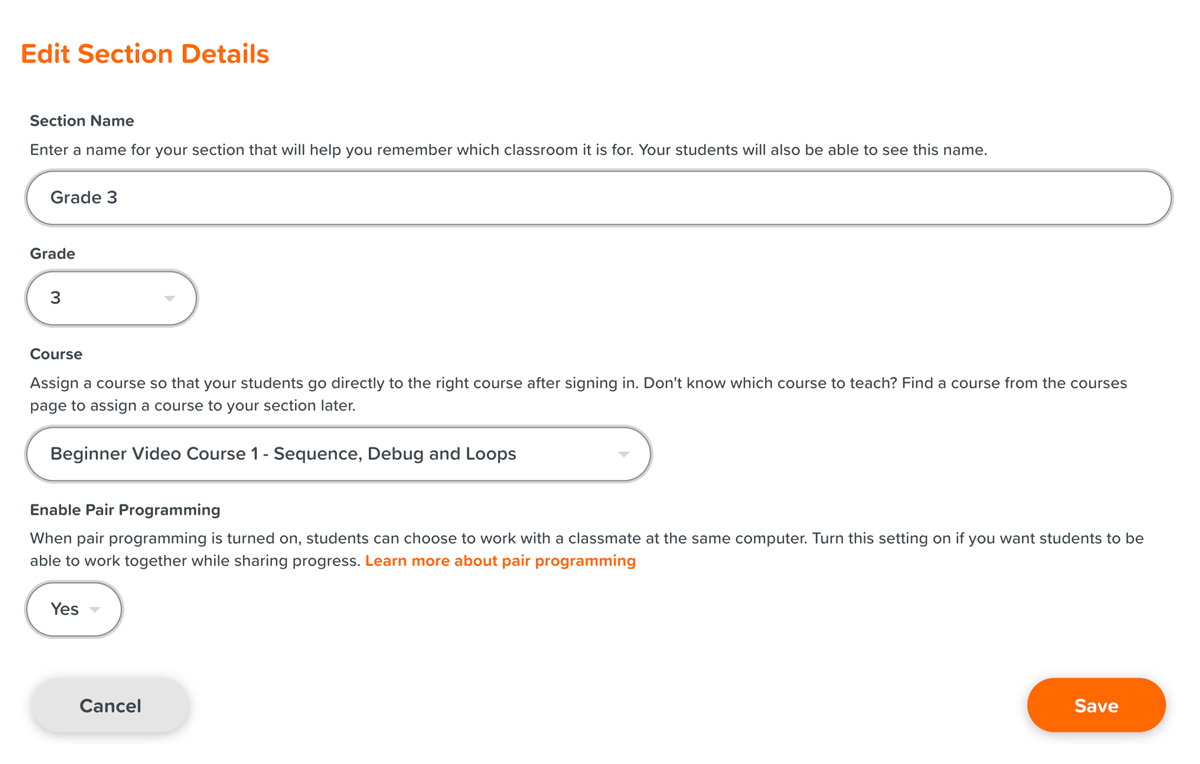
Text1 P 2 P 2
-
-
How do students get paired up with other students?
Students will choose their partners at the beginning of each login section. Students can choose to pair with other students in the same section.
This pairing process works differently based on the login type that you chose for your section.
-
For sections with login type of Picture Password or Secret Word
For sections with login type of Picture Password or Secret Word, students will see a checkbox option upon first visiting their classroom section's Join Page.
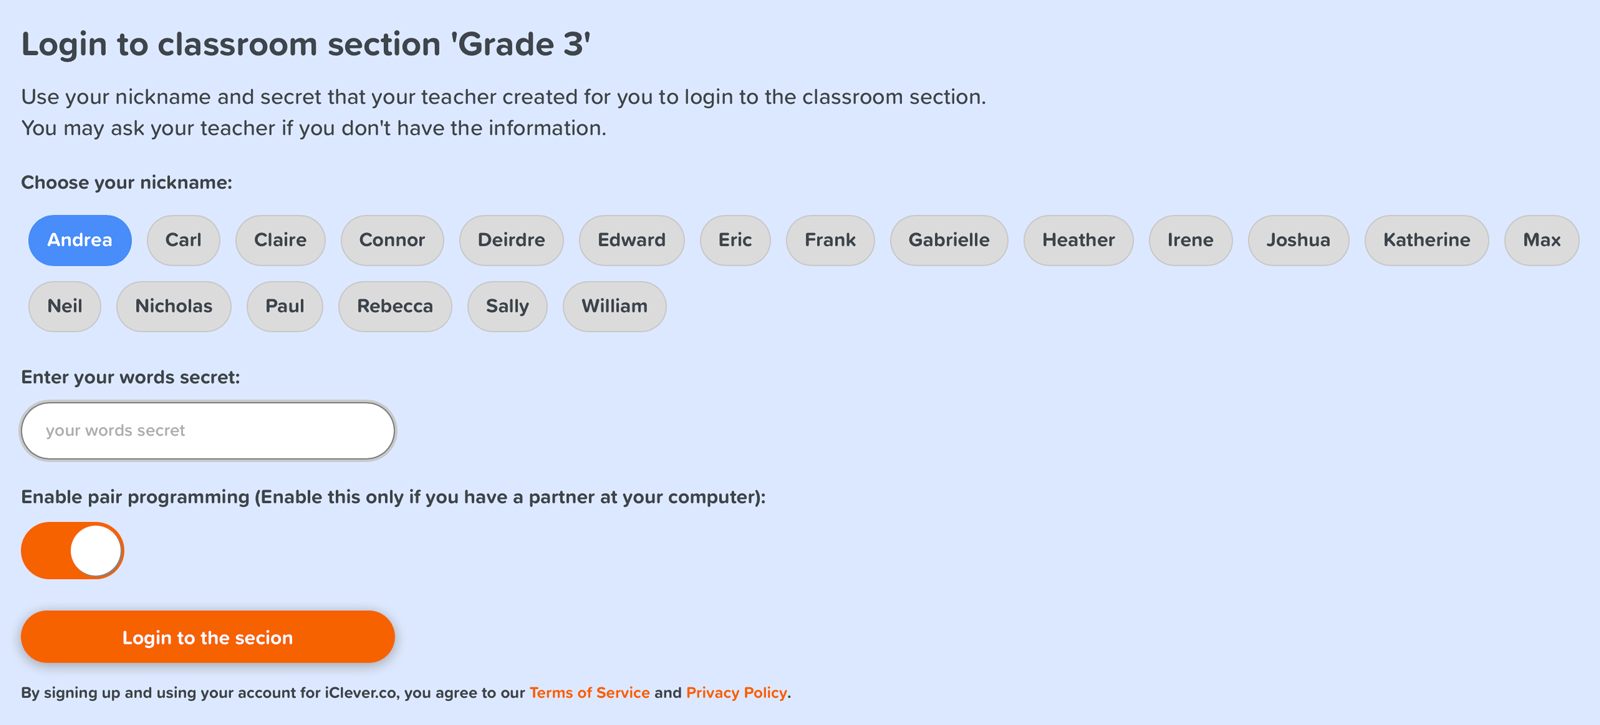
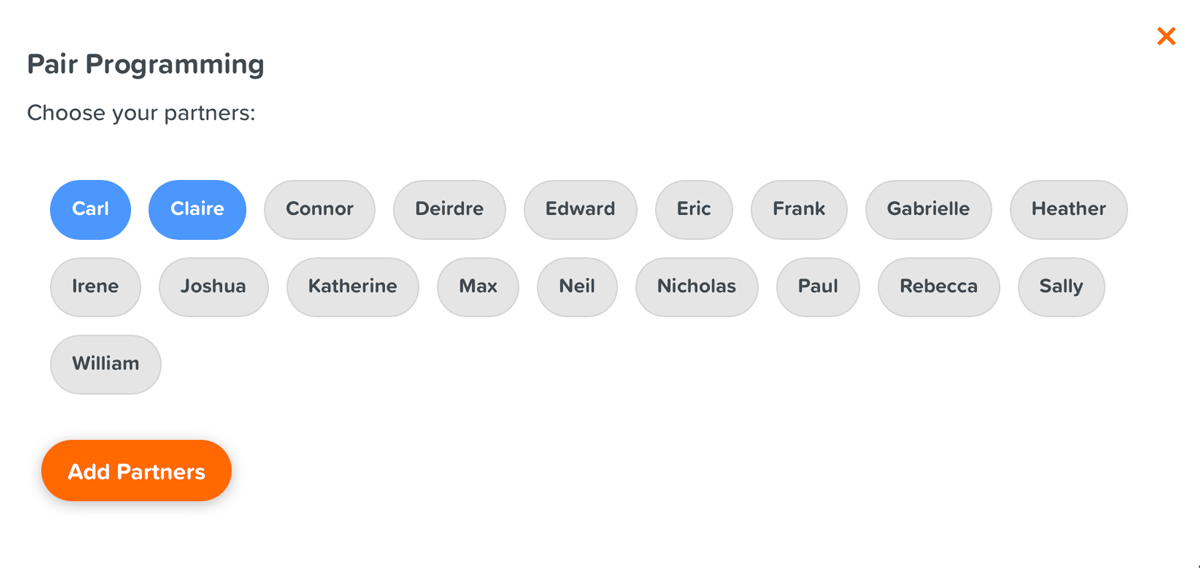
If they enable the pair programming option and click the "Login to the section" button, they will be asked to choose partners.
-
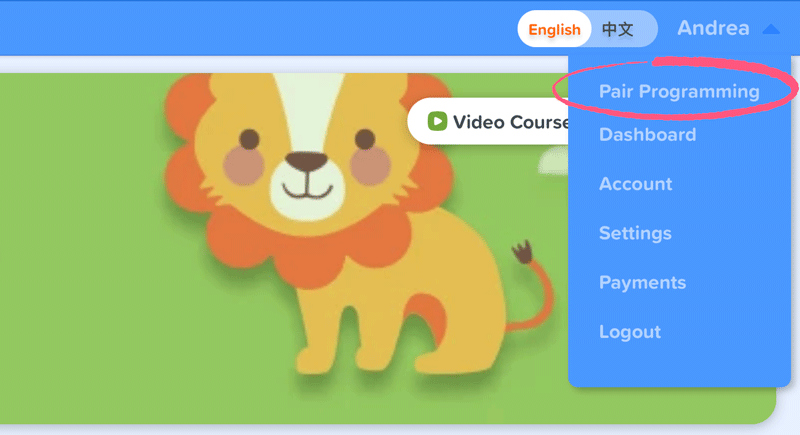
For sections with login type of Personal Email
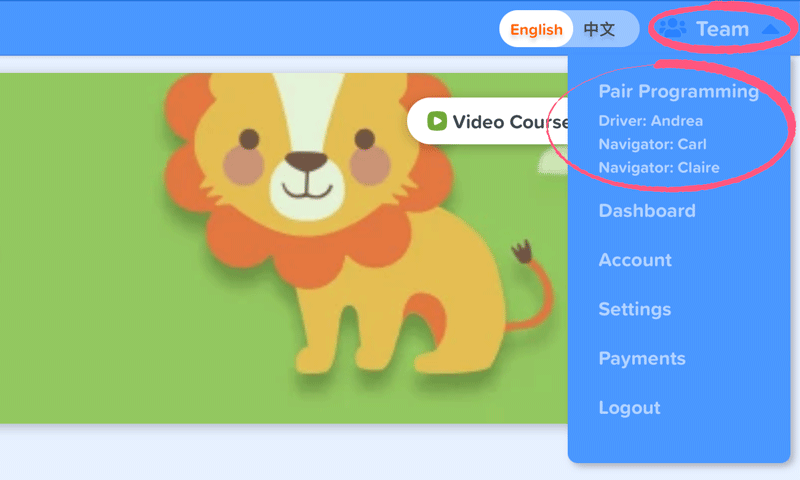
For this type of sections, students can select partners once they're signed in by clicking their name in the top-right corner of the page and then selecting "Pair Programming" from the dropdown menu that appears:
-
-
How can I tell which students are pair programming?
-
For students
On the student's page, their name will be replaced by "Team" in the upper, right-hand corner when they are paired.
Open the menu to show who they are pairing with.
Progress made by the driver student will also be updated for navigator students of the team. Navigator students can view the solution made by the driver student in their own account by visiting the level they worked on together. They will see a yellow message box showing an option for viewing the solution they made as a team.

-
For teachers
Dashboard Progress tab: When you view your students' progress in the Progress tab of the Teacher Dashboard Page, you will see a pairing icon if students were paired when they completed a level.
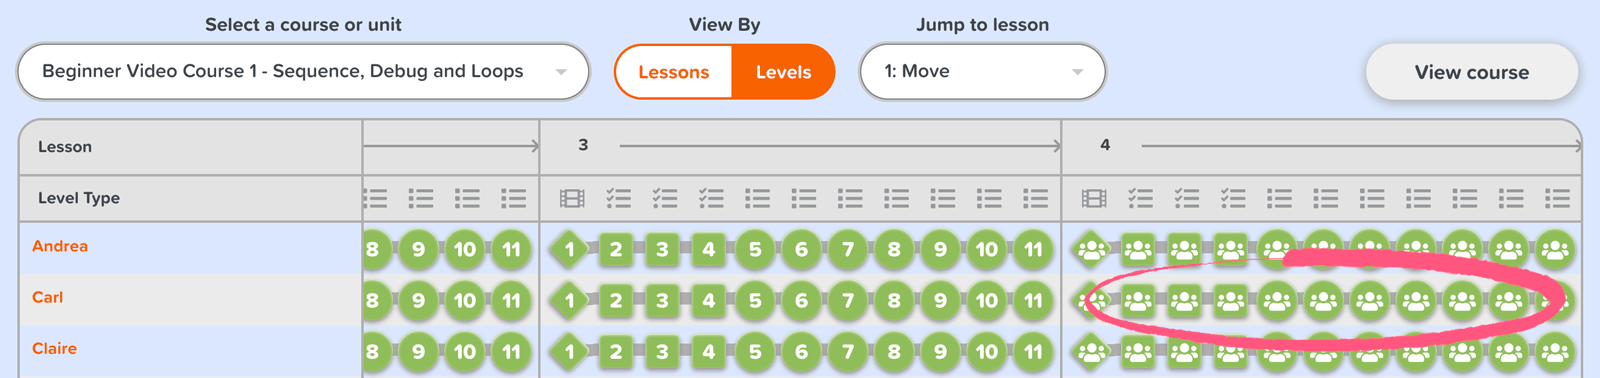
Looking at student code on an individual level: When you're looking at your students' work on an individual course level, you can see which students are paired together in the teacher panel on the right-hand side of the screen.

Any progress made by the logged-in driver student (as in, green bubbles of progress indicating completed puzzles) will reflect upon navigator students' sides as well.
-
-
Can students pair with people outside of their section?
No. Students will need to be in the same section for them to select partners for pair programming.
-
How can students stop pairing?
The pairing of students is not permanent - Students will be un-paired upon signing out every time, and can choose different partners upon signing in again.
If students want to unpair while they are still signed in, they should:
-
Click the pair icon and "Team" text in the upper, right-hand corner of the screen, and then click "Pair Programming" in the menu that appears.
-
Click the "Stop Pair Programming" button in the dialog to stop pairing.

-
-
Does pair programming allow my students to do a live collaboration with one another while they're on separate machines?
No. Pair programming is designed to be used by students sharing one device and working together on one device. It is primarily designed for use video courses in a classroom section. We don't support live collaboration between students (and/or between teachers).
Paired partners won't be able to see the "driver" student's work until after they finish a given course level. If you're a student working on one computer (entering code yourself), and you're paired with a student working on another computer, the paired person won't see your code written in real-time. You'll need to finish the level yourself, and then your paired partner can go back and look to see what code you've written.
You can also refer to the following online documentation: